
How To Build a Turkey Fan Mount
Author: Dean Taylor
Fan mounting is a great way to preserve the memories you made this season and, unlike big Moose and Deer mounts, can look subtle enough to get the approval of even the non-hunters in your family. These mounts can be created using just a hand full of common household materials and do not require any taxidermy skills to achieve a great result. This article will walk you through step by step, from shot to wall, how to make a fan mount of your own.
Step 1: Remove the Fan and Beard
Removing the fan is one of the first things that I do after gutting the turkey in order to avoid unnecessary damage during the transport and cleaning process. Removing it is relatively easy, finding the tail bone just above the bird’s vent and cutting along it with a sharp knife. I typically try to leave quite a few extra feathers attached as it is much easier to remove them later than to try to re-attach them.
Removing the beard can often wait until the plucking process is complete as cutting it off will expose the breast sponge and can make a bit of a mess if you’re not prepared to clean the whole bird.
Step 2: Freeze The Fan
Whether you shoot your bird on opening day or on the last day of the season, it is important to freeze your fan and beard as soon as possible. This will not only keep things from rotting until you get around to creating your mount but also kill any lice or mites that could be living in the feathers. These poultry lice are extremely common in Turkeys and although they can’t be spread to humans, hanging any form lice on your wall is highly discouraged. I typically keep the fan in a plastic grocery bag in the freezer as well to make sure that the dead lice stay in the bag and do not get mixed in with other food you may have in there.
Step 3: Remove the Meat
Once you are ready to prepare the fan and have it all thawed out, the first step is to remove the meat. This is by far the most tedious step of the process but is absolutely essential to making sure the mount lasts and does not smell or rot on your wall.
As you can see below, quite a bit of meat (red) and fat (yellow) is left on the fan from removing it in the field. The centre of the fan will also have a piece of tail bone that will need to be removed and will take a lot of the meat with it. A sharp pocket knife will be sufficient when removing the large pieces of meat and bone. This is also the stage when you can begin removing unwanted feathers from the back of the mount.

Turkey Fan out of the freezer

Unneeded feathers and tail bone removed
Once you have the tail bone and unwanted feathers removed, the tedious and frustrating part of the job begins. As you can see above, the pieces of meat that remain on the feathers are very small and are stuck tightly to the base of the fan. Small and sharp Exacto knives are great for this portion of the project, allowing you to remove these small chunks without damaging the base of the feathers.
Step 4: Cleaning the Feathers
After the meat is all cleared up, you should just be left with the fat that is in between the feathers. As seen below, this fat is super oily and can be one of the main causes of the fan rotting if not properly cleaned. For this step, I like to use scissors to separate the quills, then use a wire brush to scrape out the fat.

Cleaning the fat in between feathers

Feathers mostly cleaned (far left)
Step 5: Preserving the Mount
After all the fat is removed from in between the feathers, it is time to start preserving the mount. Although some go as far as soaking the feathers in white gas to remove all the oil from the base, I find Borax sufficient at drying the feathers and ensuring there is nothing to rot.
Before adding the borax, spread the fan out on a piece of cardboard and pin the feathers where you want them using small tacks or toothpicks. Once you have all the feathers where you want them, spread the borax liberally over the base of the fan, ensuring it gets underneath and in all of the cracks that could contain meat or oil that could potentially lead to spoiling. I typically let my fan sit in this stage for at least two weeks, occasionally checking the fan and removing anything that looks out of the ordinary. The more time left in borax the better, so don’t be afraid to let it soak for up to a month.

Pined and Boraxed
After the settling period has ended, wipe off the extra borax and pin the feather back in place if they have moved. Once this is complete, it is time to prepare the fan for mounting. This is done by creating a plaster seal at the base of the fan that can eventually be screwed through and hung on the wall behind a plaque. Regular Bondo that you would find at a hardware store is great for making the plaster, spread over the base of the fan and left to dry overnight. By the morning, you should have a solid base that will hold your feathers in position and allow it to be hung up and displayed.
Step 6: The Mount
Turkey fan mount kits can be found at most hunting stores and come in a variety of shapes, colours, and materials. They will also vary in their accessory mounts that can allow you to hang beards, spurs, and even skulls alongside your fan. Whichever one you choose to buy or make, these mounts will often simply screw through the centre of your plastered fan, locking it in place, and screwing into the wall on the other side.
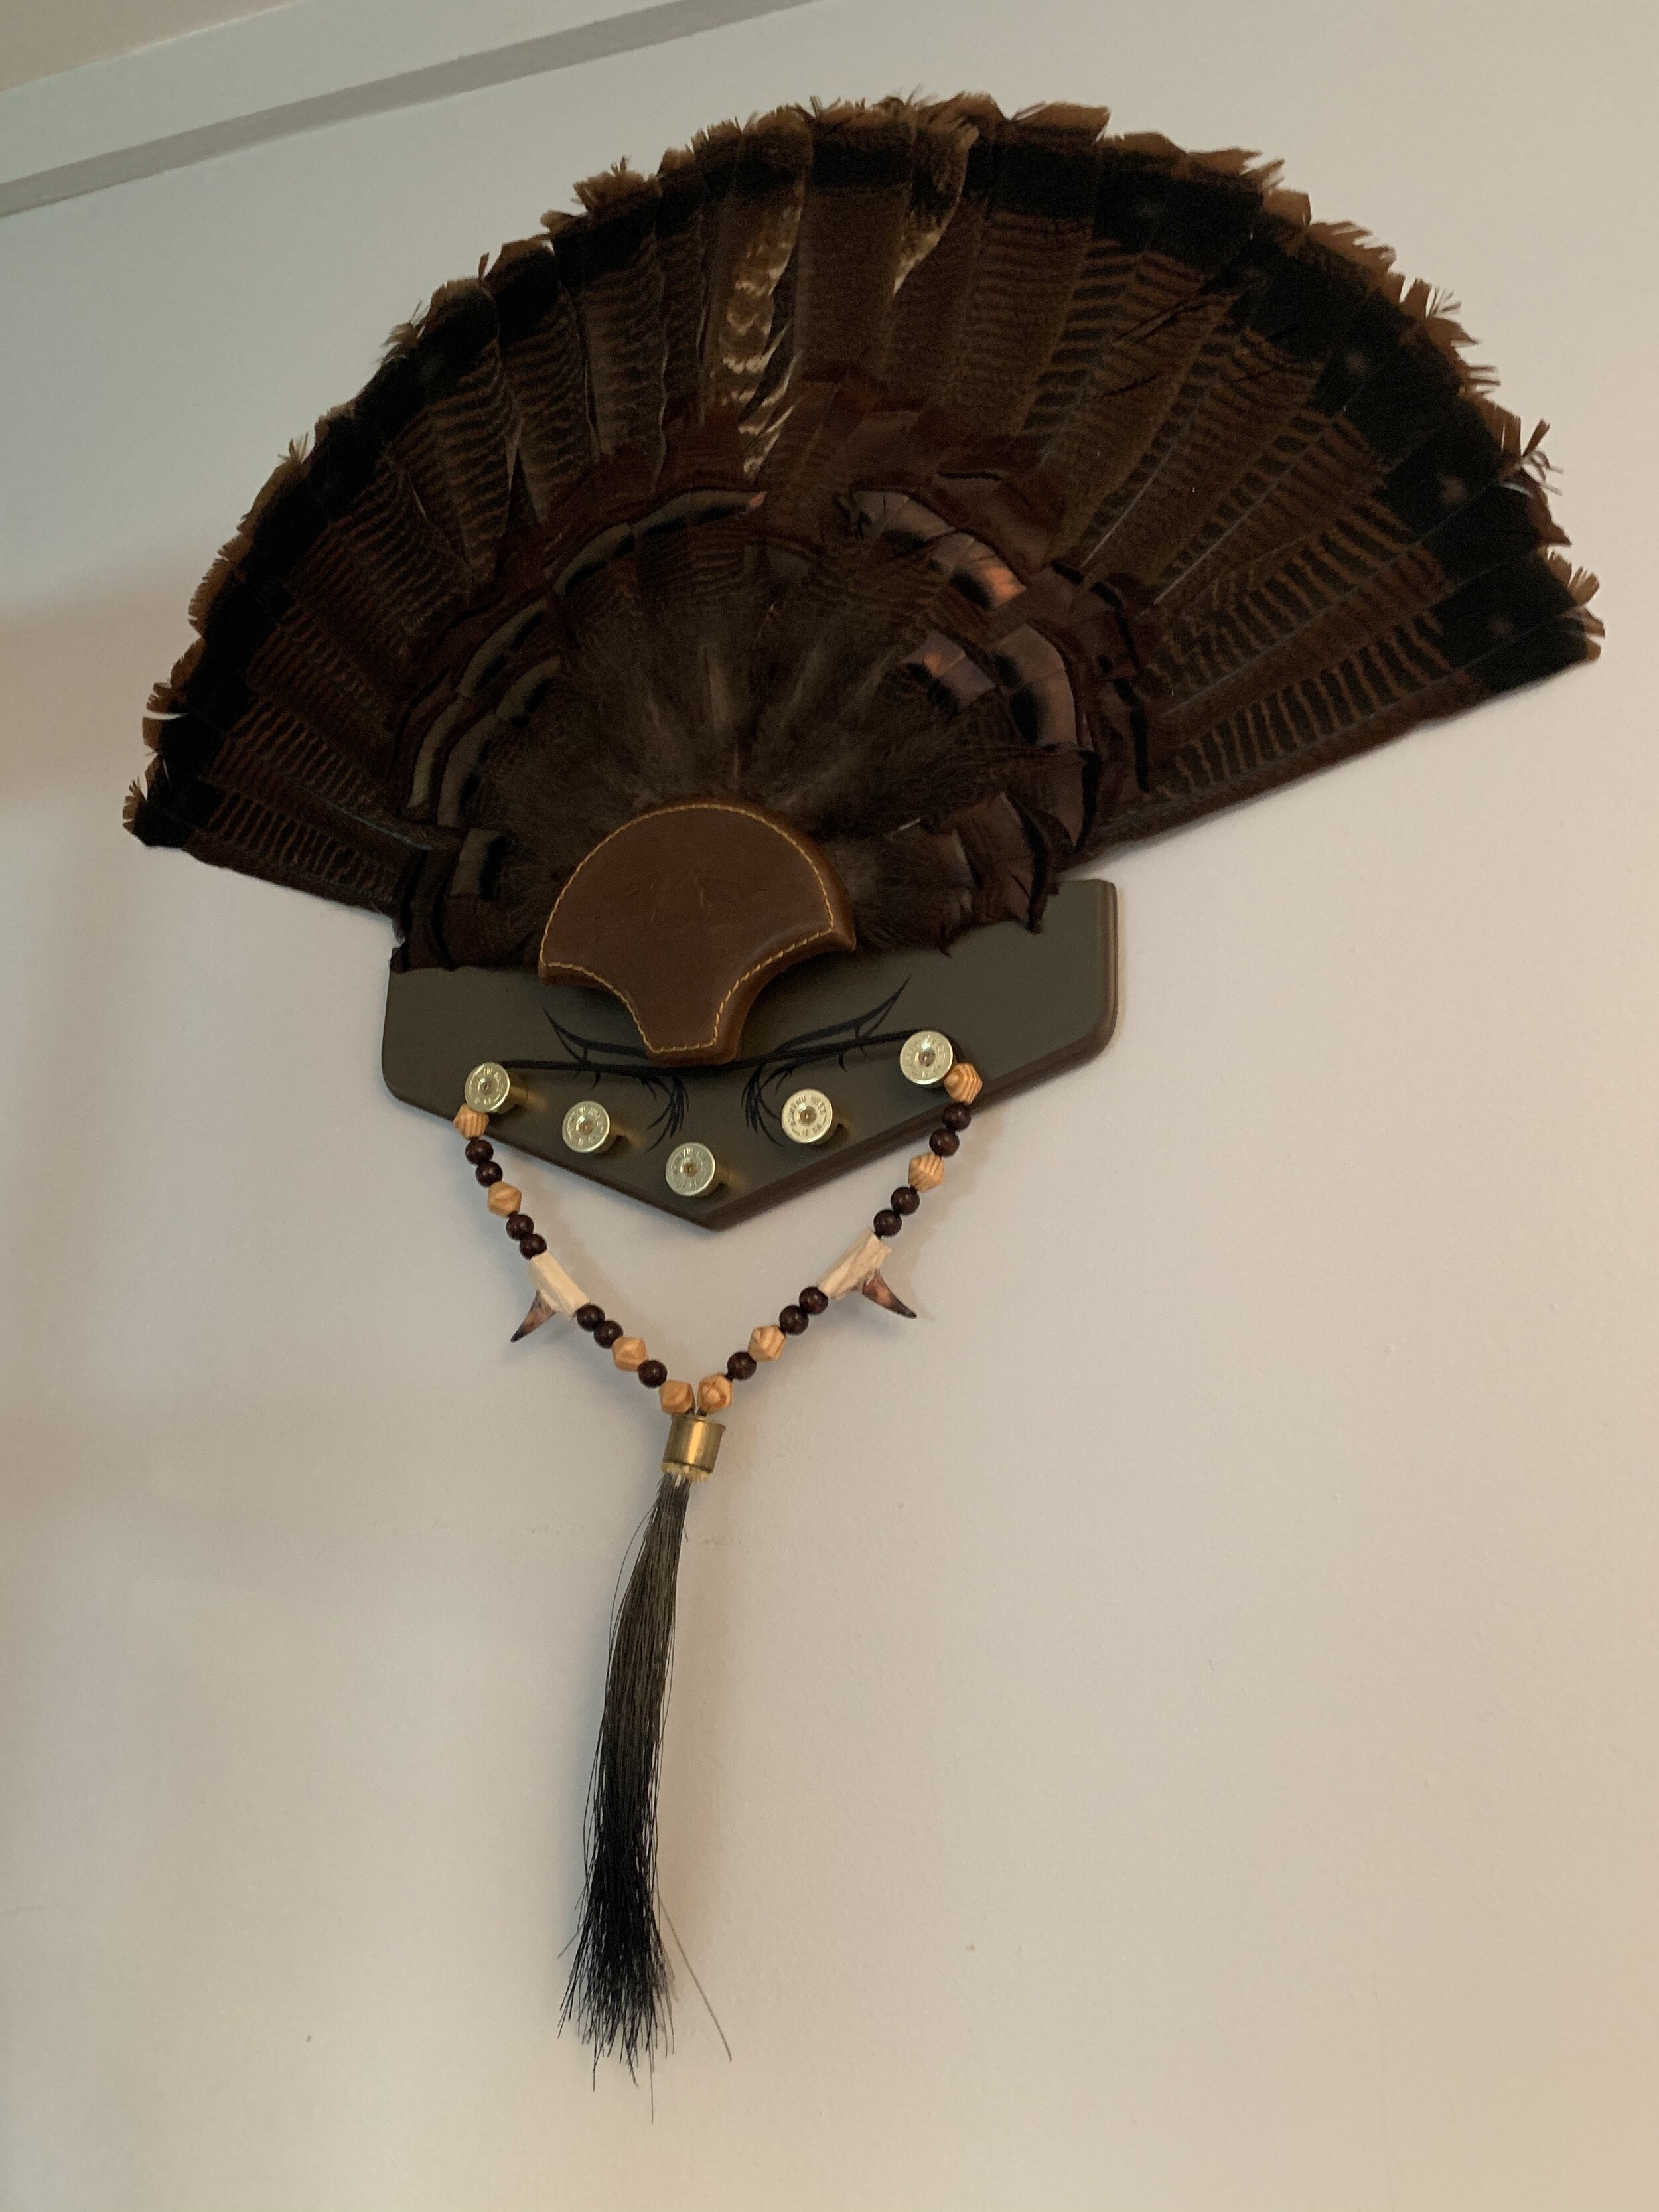
Other Options: Beard and Spurs
Beard and spurs can also be preserved and can be great additions to the mount. While some kits will provide places to put these additions, I usually opt to make my own, as can be seen below. I made this addition with basic craft store material, adding beads and the spurs to a piece of cord and attaching the beard to the shotgun shell that was used during the hunt

BOUNS: Fixing Damaged Feathers
This year’s bird, as seen below, had quite a bit of damage to his feathers, many of them broken and some even falling completely off. Thankfully, after going back to the site of the shot, I was able to find all the missing feathers and brought them home to attempt to fix the broken fan. I was able to fix this issue relatively easily using fly tying material and toothpicks, using the toothpick as a crutch for the stem and fly tying thread as a wrap, turning a beat up and almost unmountable fan into a great display and an even better memory.
