
Building an ice fishing livewell
Author: Dean Taylor
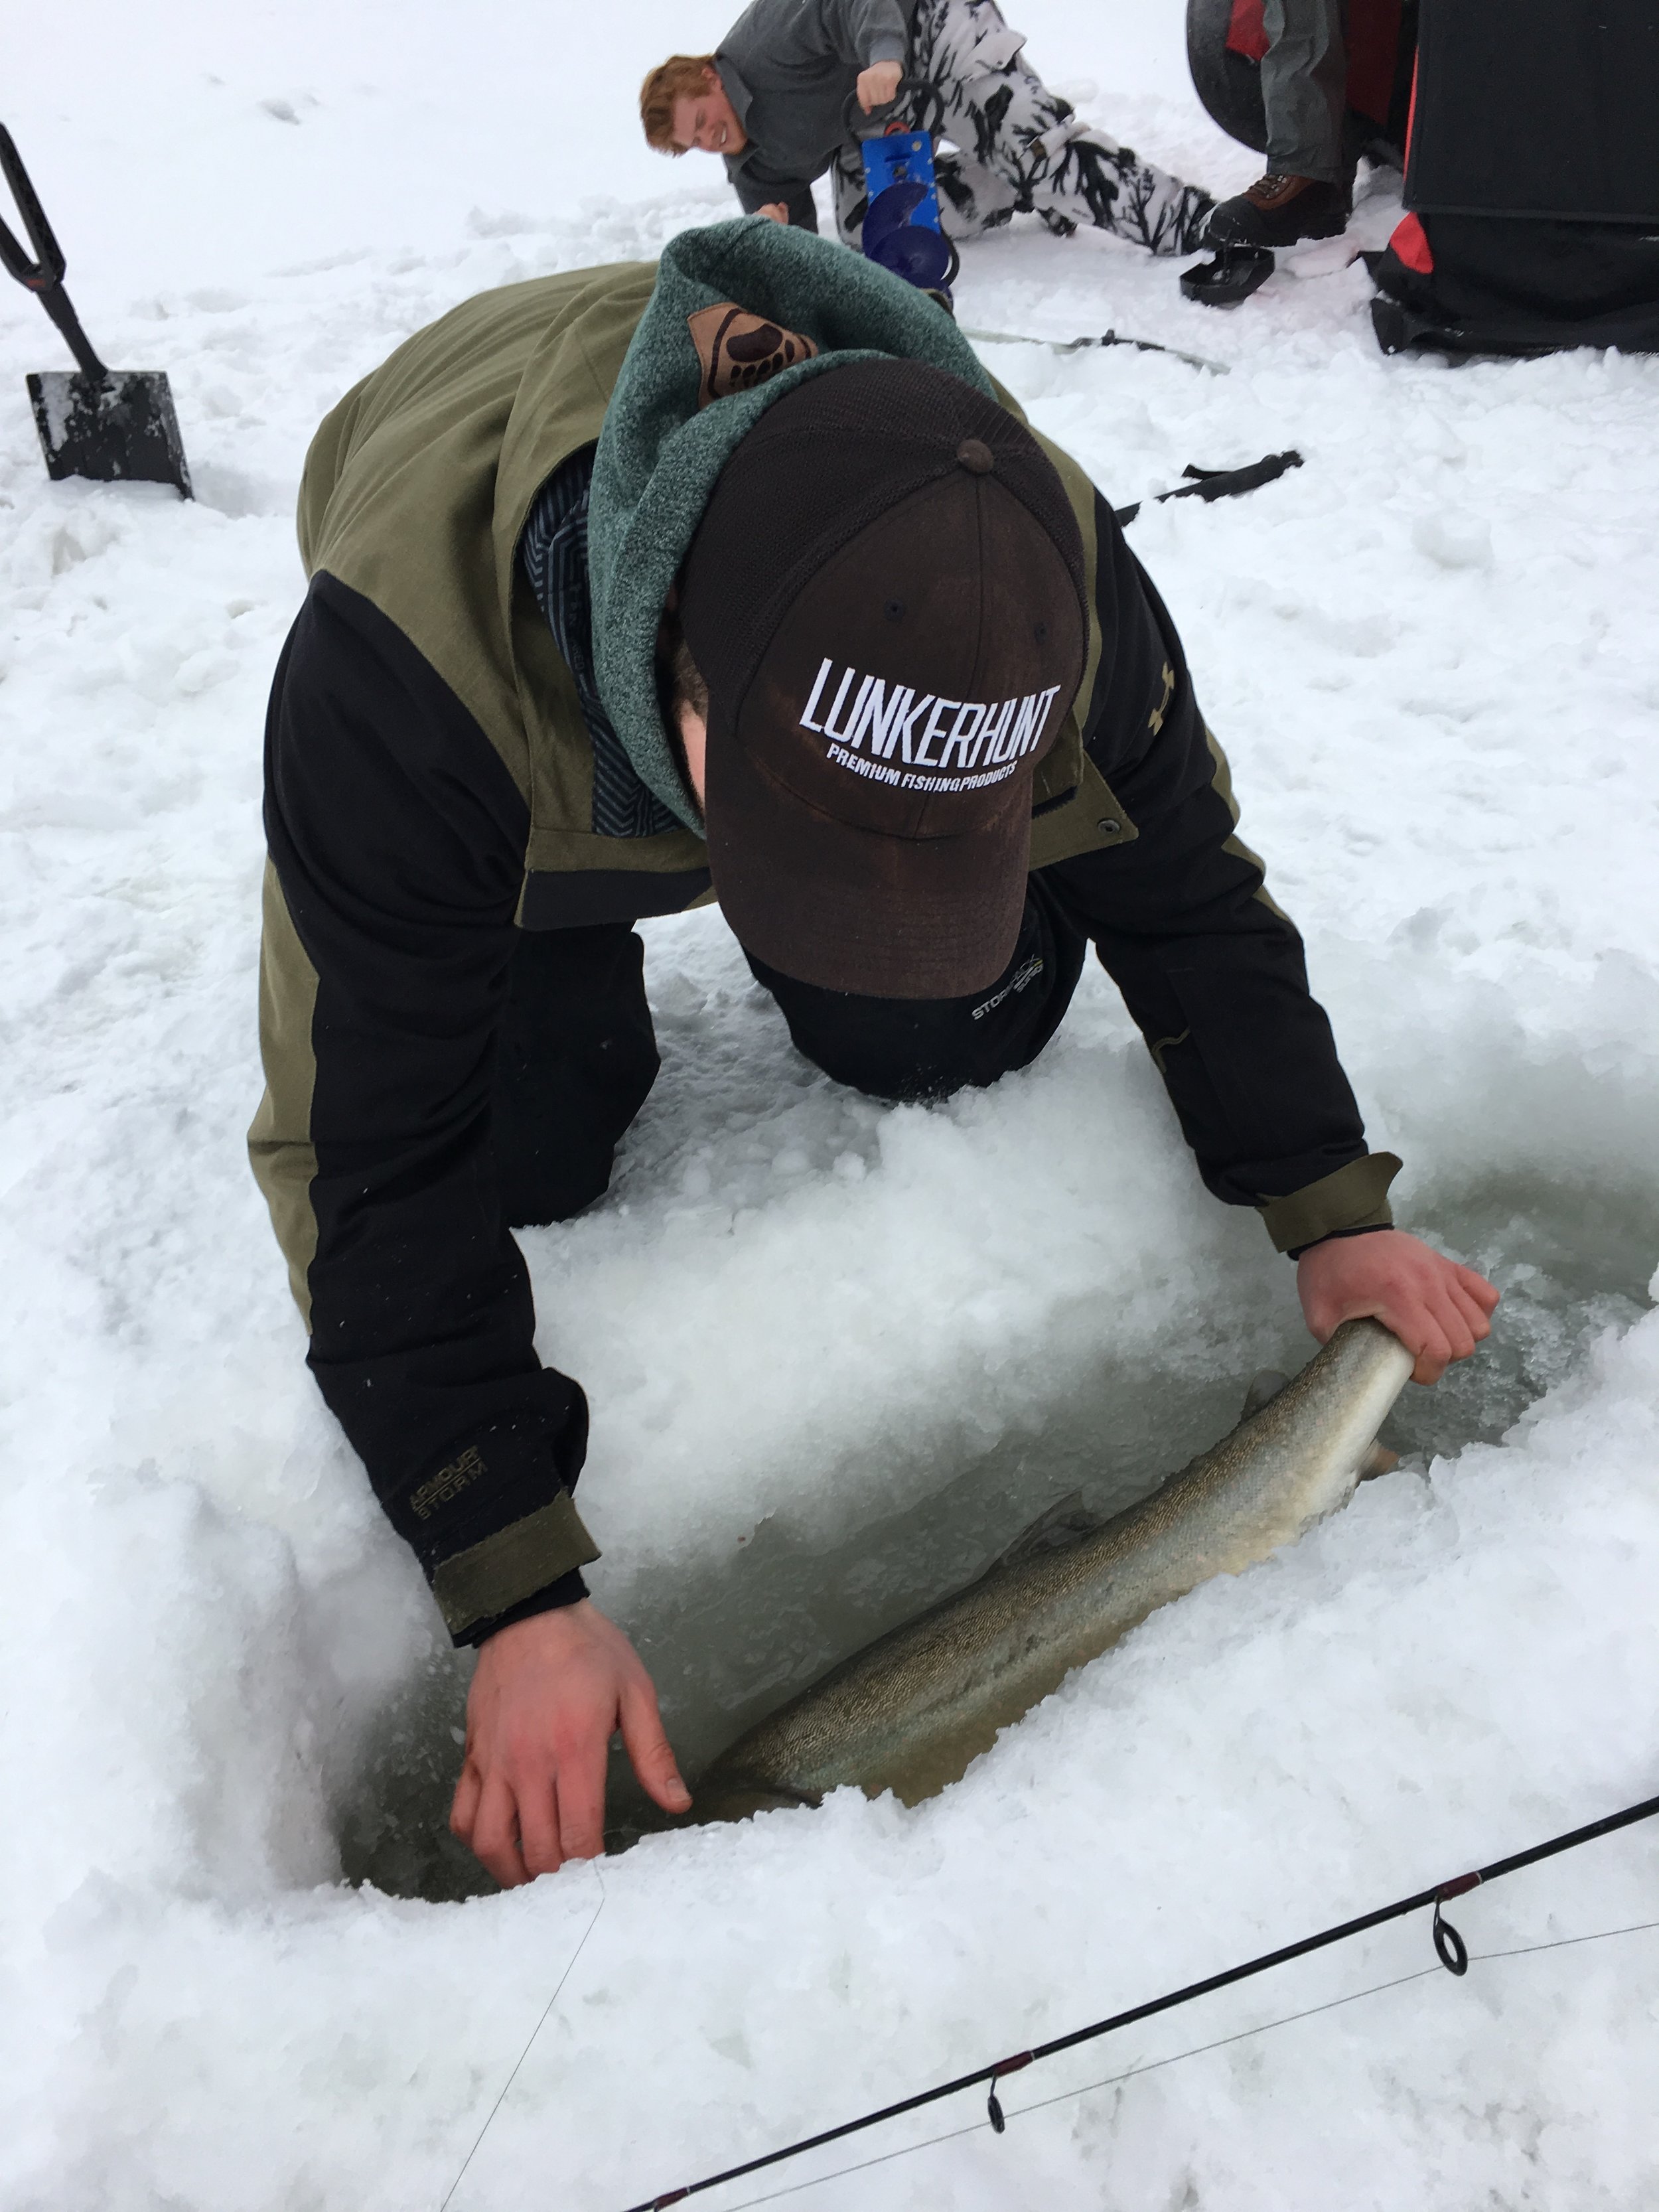
Building a livewell for a day on the ice can be essential, especially when catch and release fishing. Fish handling while ice fishing is very important as cold temperatures and long exposure times can be very harmful to the fish prior to the catch. A properly built livewell will ensure the health of the fish while taking photos, as well as allow for a much smoother release. These tips will allow you to build a livewell for your next ice fishing trip, while only requiring common items that you will likely have on hand.
Tools:
Auger
Chisel
Scoop
Step 1: Holes
Begin the livewell by drilling one hole all the way through the ice with your auger. Proceed by drilling two holes halfway through the ice directly to one side of the original hole.
Step 2: Chisel
Once the holes are drilled, proceed by chiseling out the ice in between the holes, stopping at the depth of the half drilled holes. This will allow the water to flood all three holes providing adequate space for any fish that is caught.
Step 3: Scoop
Scoop out loose ice ensuring the well is cleared before any fish is placed inside.
Tips:
Once the livewell is ready for use, make sure all of the fish placed inside are facing their tail towards the fully drilled hole to ensure that they cannot swim out. When releasing the fish, face their head towards the hole and do not release the tail until it kicks out of your hand ensuring it is ready to go.